

 AUTHORIZED PARTNER


How to Use a Fluke Calibrator: Your Go-To Calibration Guide
If you’re responsible for maintaining or troubleshooting process instruments, you know the value of reliable calibration tools. At MME-AE, we trust the Fluke Calibrator for its precision, versatility, and ease of use in a range of industries. Whether you’re new to calibration or want to refine your skills, this guide will walk you through the essential steps for using a Fluke Calibrator effectively.
What is a Fluke Calibrator?
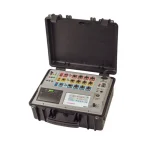
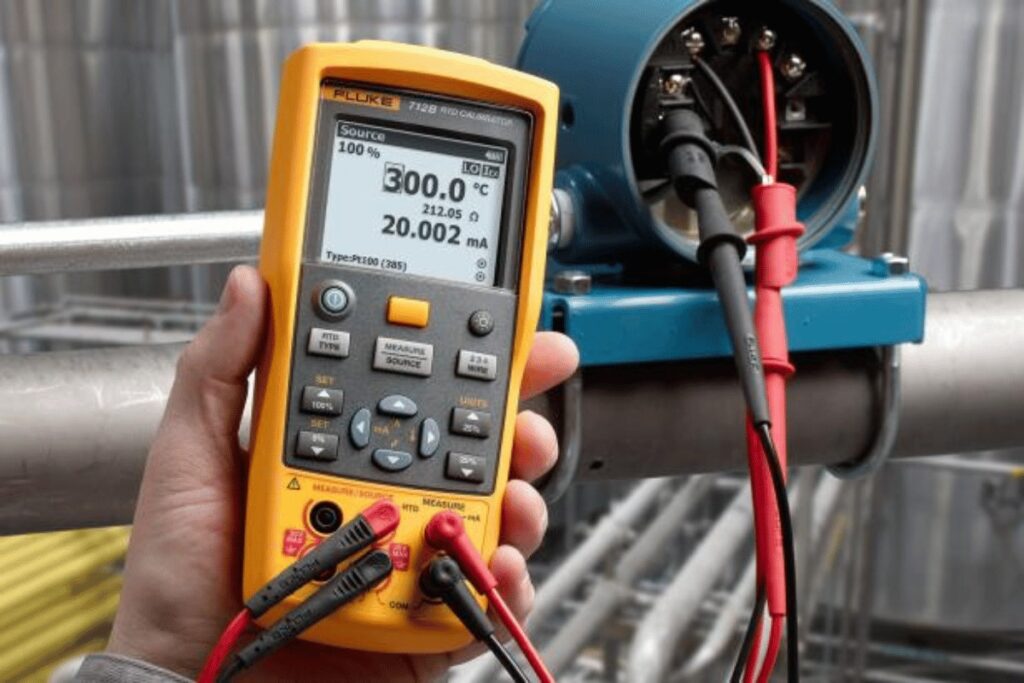
A Fluke Calibrator is a specialized instrument designed to simulate and measure electrical signals such as voltage, current, resistance, and frequency. It’s widely used to verify and adjust the accuracy of process instruments, transmitters, and sensors, ensuring they operate within specified tolerances. Fluke Calibrators are known for their ruggedness, multifunction capabilities, and the ability to document calibration results directly, making them a top choice for professionals worldwide.
Step-by-Step: How to Use a Fluke Calibrator
-
- Preparation and Safety
- Ensure the device under test (DUT) is isolated from the process and safely accessible.
- Review the instrument’s manual and calibration procedure.
- Gather the necessary accessories, including leads, connectors, and reference documentation.
- Power On and Select Function
- Turn on your Fluke Calibrator.
- Use the function selector to choose the desired calibration mode (e.g., voltage, current, resistance, or temperature simulation).
- Connect to the Device Under Test
- Attach the calibrator’s leads to the DUT according to the test you’re performing. For example, connect to the input terminals for voltage or current calibration.
- Double-check polarity and connection integrity to avoid errors or damage.
- Set Zero and Span Points
- For process instruments, set the zero point and the span point using the calibrator’s controls.
- Use the arrow keys to adjust output values and store the required setpoints. This step is crucial for accurate linearity checks and step testing.
- Apply Test Signals
- Use the calibrator to source (output) or simulate known values to the DUT.
- Step through the calibration points (e.g., 0%, 25%, 50%, 75%, 100%) and record the readings from both the calibrator and the DUT.
- For documenting calibrators, results can be stored digitally for later analysis or reporting.
- Compare and Evaluate
- Compare the DUT readings to the calibrator’s output.
- Calculate the measurement error for each point and determine if the DUT is within acceptable tolerances.
- Adjust and Re-Calibrate (if necessary)
- If the DUT is out of specification, perform necessary adjustments as per the manufacturer’s instructions.
- Repeat the calibration process to confirm the device is now within limits.
- Document Results
- Record all measurements, errors, and adjustments.
- Use the Fluke Calibrator’s documentation features or log results manually for compliance and traceability.
- Preparation and Safety
Why Choose a Fluke Calibrator from MME-AE?
At MME-AE, we offer a comprehensive range of Fluke Calibrators, including multifunction and documenting models tailored for every calibration need. Our selection ensures you get the right tool for accurate, efficient, and reliable calibration, backed by expert support and fast delivery.
Conclusion
Using a Fluke Calibrator is straightforward, but following a systematic approach ensures accuracy and safety. From setup to documentation, these steps will help you get the most from your Fluke Calibrator and maintain the highest standards in your process instrumentation. Ready to upgrade your calibration toolkit? Explore our full range of Fluke Calibrators at MME-AE and experience the difference in precision and performance!
Related Posts
![Why Fluke 113 Is the Only Multimeter You’ll Ever Need [Full Review + Test Results]](https://creative-engs.com/wp-content/uploads/2025/05/Why-Fluke-113-Is-the-Only-Multimeter-Youll-Ever-Need-Full-Review-Test-Results-300x169.webp )

Latest Posts


